Overview
You can easily access and control your Windows PC from a Mac using Microsoft’s Windows App, a free tool that replaces the older Remote Desktop client. With this app, you can access Windows apps, manage files, and work remotely from your macOS device just as if you were on your Windows PC.
Note: Remote Desktop requires a PC running Windows 10/11 Pro or Enterprise, or Windows Server. It does not work with Home editions.
Procedure
Prepare Your Windows PC
Step 1: Enable Remote Desktop
- On your PC, go to Start > Settings > Network & Internet > Properties.
- Set the network profile to Private.
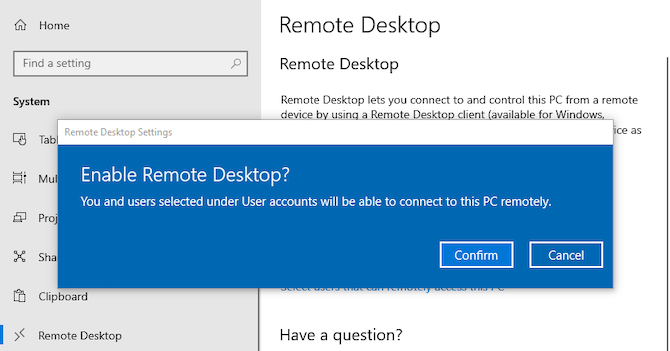
- Then go to Settings > System > Remote Desktop.
- Toggle Remote Desktop to On, and click Confirm.
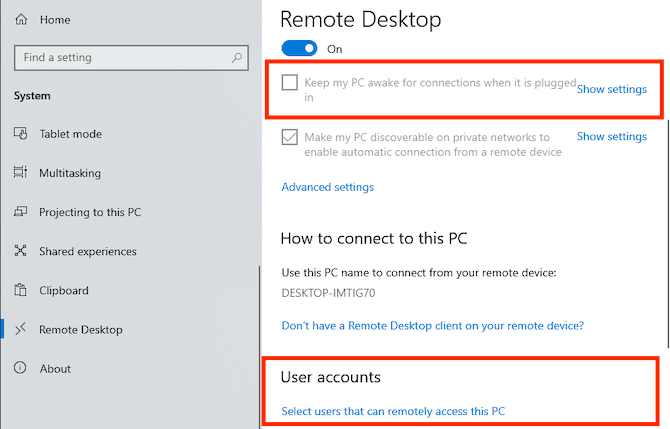
Tip: Enable "Keep my PC awake" under Remote Desktop settings if you plan to connect frequently.
Step 2: Set Remote Access Permissions
-
Scroll to the User Accounts section.
-
Your current account will be allowed by default.
-
To add others, click Remote Desktop Users, then Add, and enter their usernames.
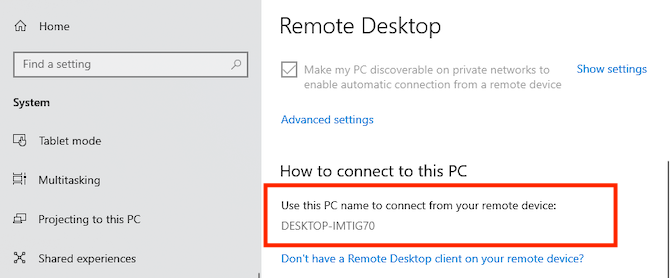
Step 3: Get Your PC Name
- Under How to connect to this PC, note your PC Name.
- (Optional: Rename your PC under Settings > About > Rename this PC.)
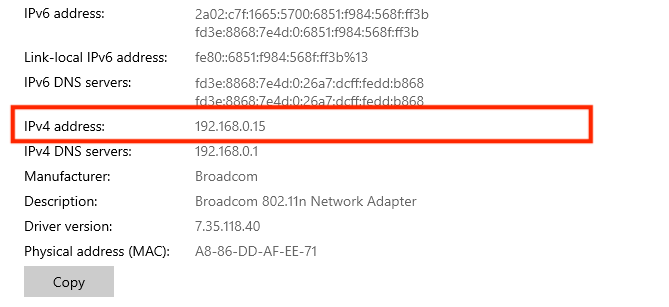
Step 4: Get Your IP Address
- Go to Settings > Network & Internet.
- Select Wi-Fi (or Ethernet if wired).
- Click your network, then scroll down to find your IPv4 address.
Step 5: Install Microsoft Windows App for MAC
Step 6: Add Your PC to Microsoft Remote Desktop
- Open the Windows App on your Mac.
- Click Add Desktop.
- In the dialog box, enter your PC Name (or IP address if needed).
- Under User Account, choose:
- Ask every time (default), or
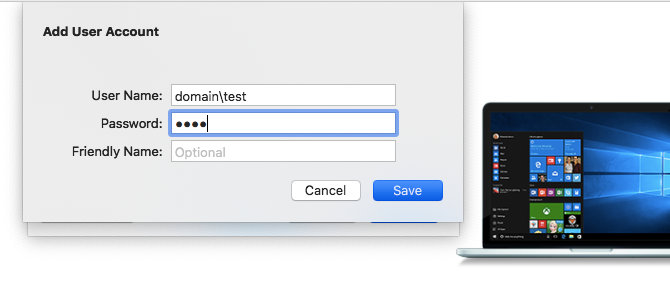
- Add account for automatic login (format: domain\username)
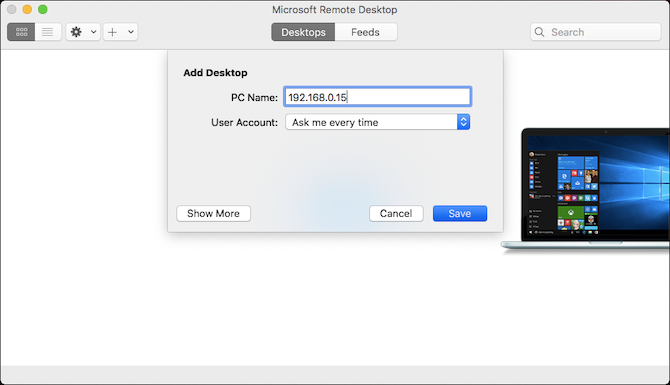
- Click Save to add the desktop.
Step 7: Configure Your Connection (Optional)
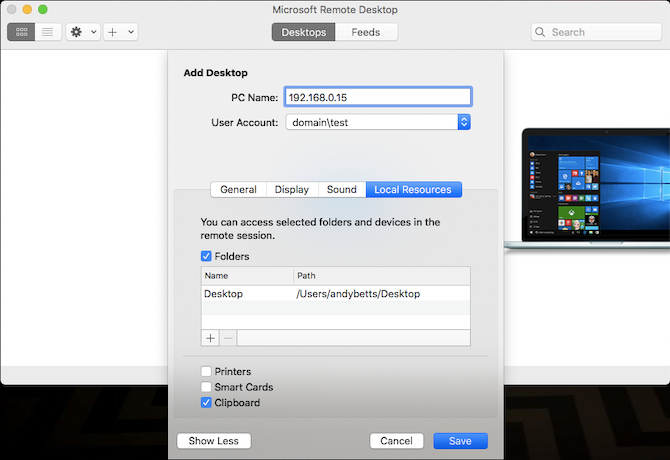
- Click Show More to access additional settings:
- General: Set a Friendly Name for easy identification.
- Display: Choose Fit session to window (when not using full-screen mode) or Optimize for Retina Displays (when working on a high-resolution monitor).
- Sound: Select which device handles audio and mic input.
- Local Resources:
- Share folders from your Mac with the remote session.
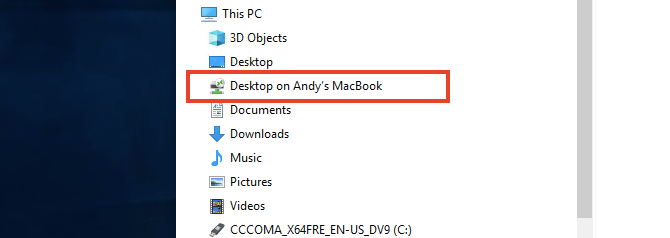
- These folders appear under This PC in Windows File Explorer, where you can acces and work on files directly from your Mac, or copy files between the machines.
Note: This does not give access to the folder outside of the remote session.
- Click Save when you're done.
Step 8: Connect to Your Windows PC
- Ensure your PC is powered on, awake, and connected to the network.
- In the Windows App, double-click your saved desktop.
- Enter your credentials if prompted (domain\username), and click OK.
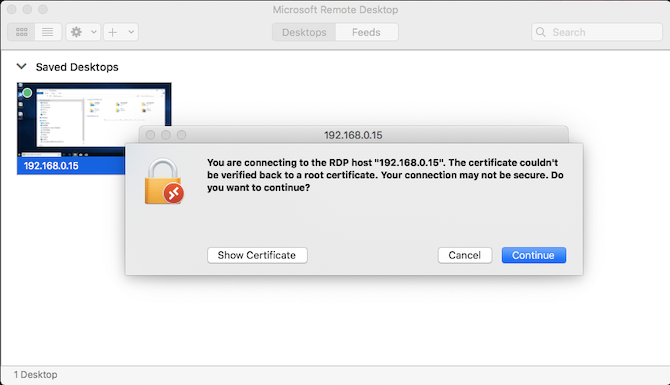
Note: A certificate warning may appear. On a trusted network, click Continue to proceed. If you’re on a large network with public access, be wary about doing this.
Security Warning
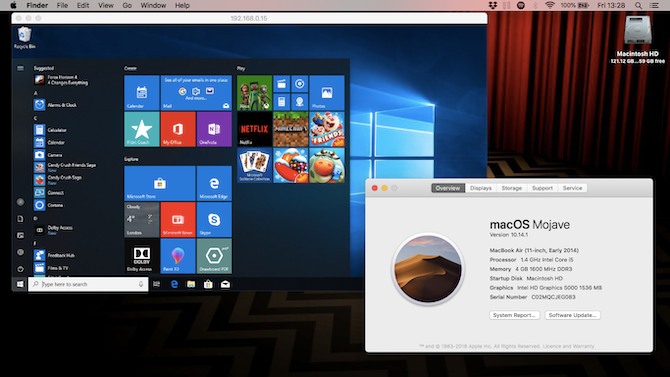
Once You're Connected
-
Your PC will lock and switch to the login screen (only one session allowed at a time).
-
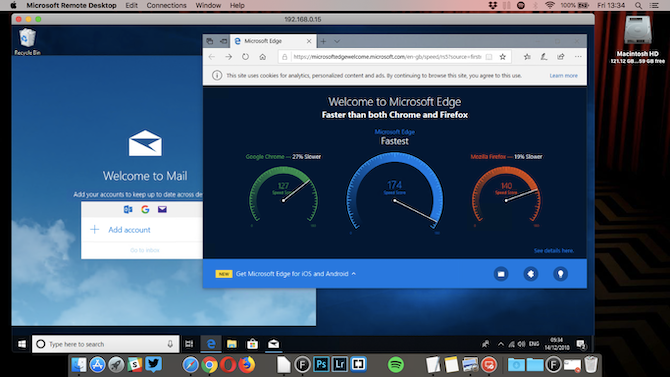
The remote session may open in full screen. To exit, hover at the top and click the green window button.
Keyboard Shortcut Note: Common shortcuts (copy, paste, etc.) will use the Command key like macOS, but some Windows shortcuts still use Control.
Copy & File Sharing:
- Clipboard is shared by default—copy/paste works across Mac and PC.
- For file transfer, use Local Resources to access shared folders.
- Drag and drop between Mac and Windows is not supported.
Disconnecting and Deleting Your Desktop
- To disconnect, simply close the Remote Desktop window.
- To edit settings: hover over the desktop thumbnail and click the Pen icon.
- To delete a connection: right-click the thumbnail and select Delete.
What to Do Next
If you're using NMSU–owned equipment and encounter issues, please submit a service request to your department's IT support team.
If you're unsure who that is, contact us using the information below, and we’ll help connect you with the right team.
If You're Still Experiencing Issues
Submit a ticket to the IT Help Desk here.
Contact Information:
IT Help Desk Contact & Remote Support
In Person: Hardman & Jacobs Undergraduate Learning Center - Room 105
Phone: (575) 646-HELP (4357)
Email: help@nmsu.edu
Chat: Chat with Support